To make the bracelets I bought the beads that were already strung. You could use loose beads and wire if you have that on hand. I also purchased the fasteners and Jump Rings (the little wire loops). I needed two sets of pliers for this project.

After removing the beads from the card board I found a plastic thread running through the beads. I took a jump ring and opened it with my pliers.

Then I ran it through the plastic thread at the bottom of the beads.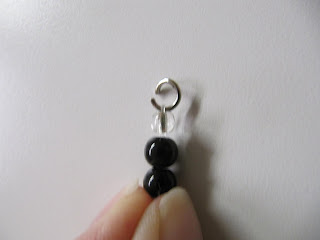

Then I attached one end of the fastener to the jump ring.

Next, I pulled out the plastic thread from the top of the beads. It was just looped and shoved down in the beads.

I took another jump ring and slipped the thread through the ring and tied the thread in a knot. 

Then you want to run the thread back down through the first couple of beads and cut the thread. Leave enough of a tail to run through at least one or two more beads, depending on the size of the bead.

After running the tail back through the bracelet open the jump ring and attach the other piece of the fastener. Don't forget to close the jump rings and try to get the two ends touching as smoothly as possible.

If you have a larger wrist you can adjust the length of the bracelet by adding beads, or knotting the thread so that there is more thread showing. This option will allow the beads to slide around on the bracelet. So do what works best for you!
Your done!

Happy Crafting!