Wednesday, April 21, 2010

What's For Dinner Wednesday

Spinach and Bacon Quiche that’s what’s for dinner!!

I originally was going to make a Spinach and Bacon Frittata out of Every Day Food, but none of my skillets were oven safe…back to the drawing board. I hit up Google for a Spinach and Bacon Quiche and found a very easy recipe by Paula Deen.

Let’s gather our ingredients
6 large eggs, beaten
1 1/2 cups heavy cream
Salt and pepper
2 cups chopped fresh baby spinach, packed ( I used frozen)
1 pound bacon, cooked and crumbled
1 1/2 cups shredded Swiss cheese
1 (9-inch) refrigerated pie crust, fitted to a 9-inch glass pie plate

First, cover a baking sheet with a piece of foil. Lay your pound of bacon on the sheet in a single layer. You want to cook the bacon for 15 minutes in a 400 degree oven. With my oven that got the bacon done, but not too crispy.
Second, while the bacon is cooking combine the eggs, cream, salt, and pepper in a food processor or blender.
Blend for about a minutes to make sure everything is good and mixed up.
Third, place your pie crust in the bottom of a 9-inch pie plate. Like I said earlier, this was a little bit on an improve dinner. I used a can of crescent rolls and lined my pie plate…everything is better with crescent rolls, right???
Fourth, take the Bacon out of the oven. Let it drain on a paper towel covered plate.
Fifth, add the spinach to the bottom of the pie crust.
Sixth, Chop the bacon into pieces.
Then add the bacon on top of the spinach.
Seventh, add the cheese on the top of everything else.
Eighth, pour the egg mixture on top.
Bake for 35 to 45 minutes at 375 degrees until the egg mixture is set.
Cut into wedges and serve….Yum Yum!!
Happy Baking!!

Monday, April 19, 2010

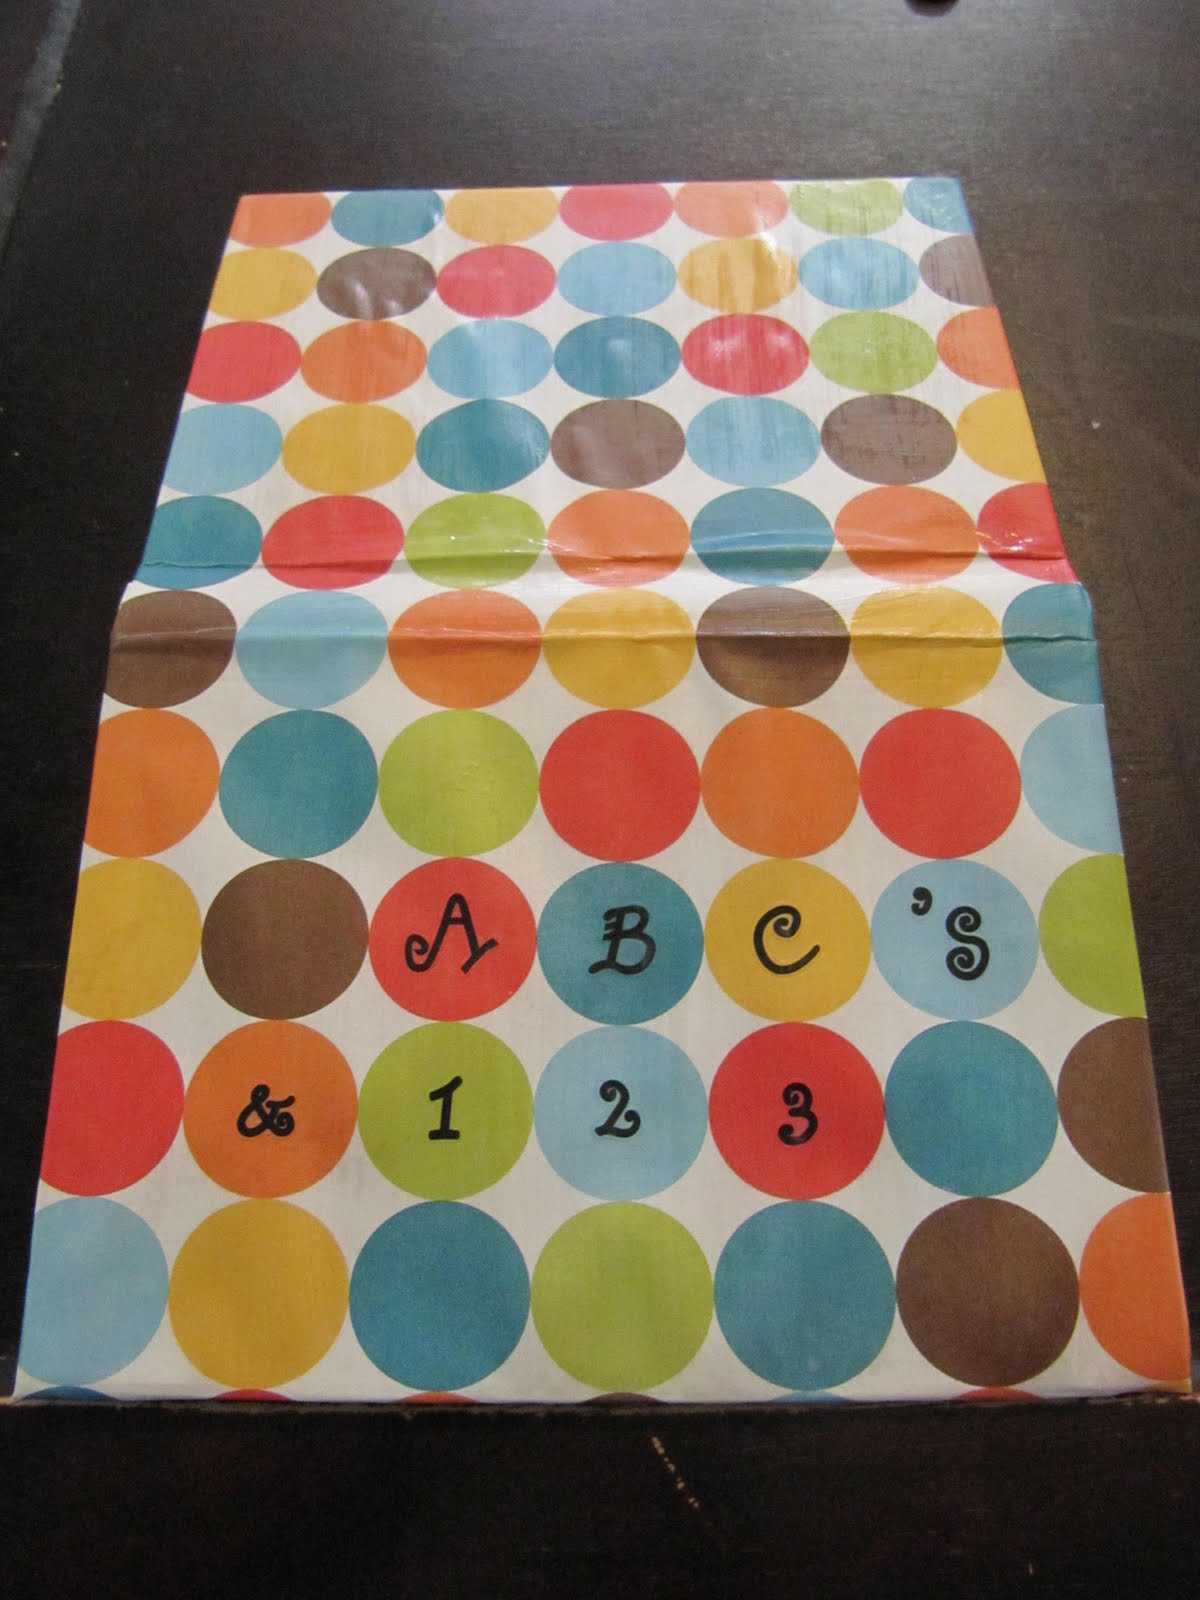
Makin' It Monday: Drab to Fab Photo Album

Here we go…the 1st Makin’ It Monday. I have a fun little project for ya. Let’s turn a drab photo album into somethin’ a little more fab, whatcha say? Yes? Okay here we go….


Let’s gather our supplies.

Photo Album…I found mine for 50 cents at a thrift store.
Scrapbook paper
Paper trimmer
Scissors
Mod Podge
Sponge Brush

Now let’s get started.

First, measure your photo album, and allow about ¼-inch allowance for the top and bottom and about ½ to 1-inch allowance for the side. This will allow us to turn up and glue the paper securely to the album.

Second, cut that pretty paper.

Third, now fold the paper up and over all the edges of the album and crease them.

When you are done you should have a nice outline of your album in your paper.

Fourth, get out that marvelous Mod Podge and sponge and go to town. I would suggest mod podging one side of the paper and then pressing it on the album, then do the spine and the other side. That way you get the album placed squarely on your paper and it will look all nice and neat.  Fold over the edges and press down firmly.

Slightly fold over the end of the top and bottom of the paper so that you can turn the side part over to form even corners.

Fifth, Let the album dry and then decorate with stickers if you choose. I did. If not, skip to the next step.


Sixth, add another layer (thin layer that is) to the outside of your paper. This will help the paper seal better and help keep any stickers you added stuck down.

Seventh, add any additional final decorations.

Viola you’re done!! Now you have a fabulous new photo album. These would make great Thank You gifts. I have seen several sites promoting Teacher Appreciation gifts. These little albums would be great for that with pictures of the kids.  I plan to fill these pages with pictures of letters and numbers for my little boy to learn his alphabet and numbers!!

Happy Crafting!!


Linking to:


Decor Mamma
Crystal's Craft Spot


Saturday, April 17, 2010

Thrifty Finds

I have wanted to make it to my local thrift stores this week, but just didn't manage to get out and do it until today.

I was well rewarded for my efforts. I mainly loaded up on clothing items, for my and Missy Priss.
Here are some pictures of my finds!! You will probably be seeing some of these items again as I tweak them and make them into new and exciting garments.


I am so excited to add these clothes to our wardrobes!
See you on Monday!!


Workin' My Fingers to the Bone

I've been working my fingers to the bone!!!  Not really, but i have been working on several projects lately and I look forward to sharing them with you starting next week.  It seems like everybody has a formula for their weekly blog posts...so I will try an hop on that wagon.

Weekly run down:

Makin' it Monday-tutorial of something craft I have made in the past week.
What's for Dinner Wednesday-scrum shish dish for you to try.
Things to try Thursday-cool stuff from blogland that I want to try my hand at.

I figure this is a good place to start, with two little kiddos running around we will see how this all pans out.  Wish me Luck!!

Hope you are having a wonderful weekend!!